Unbelievable! After a long time no see, I�ve finished a miniature.
While other projects are having a break, I grabed my miniature box and picked out �Shadowblade Reyviande�, a lovely miniature sculpted by Tre from RedBoxGames. NICE!

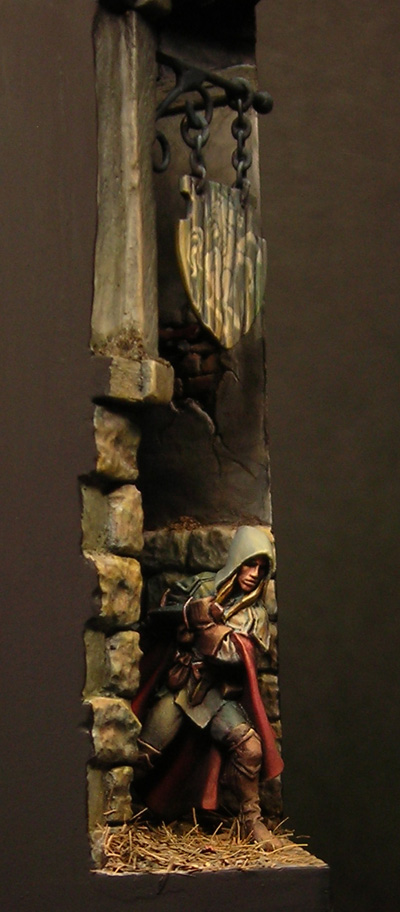
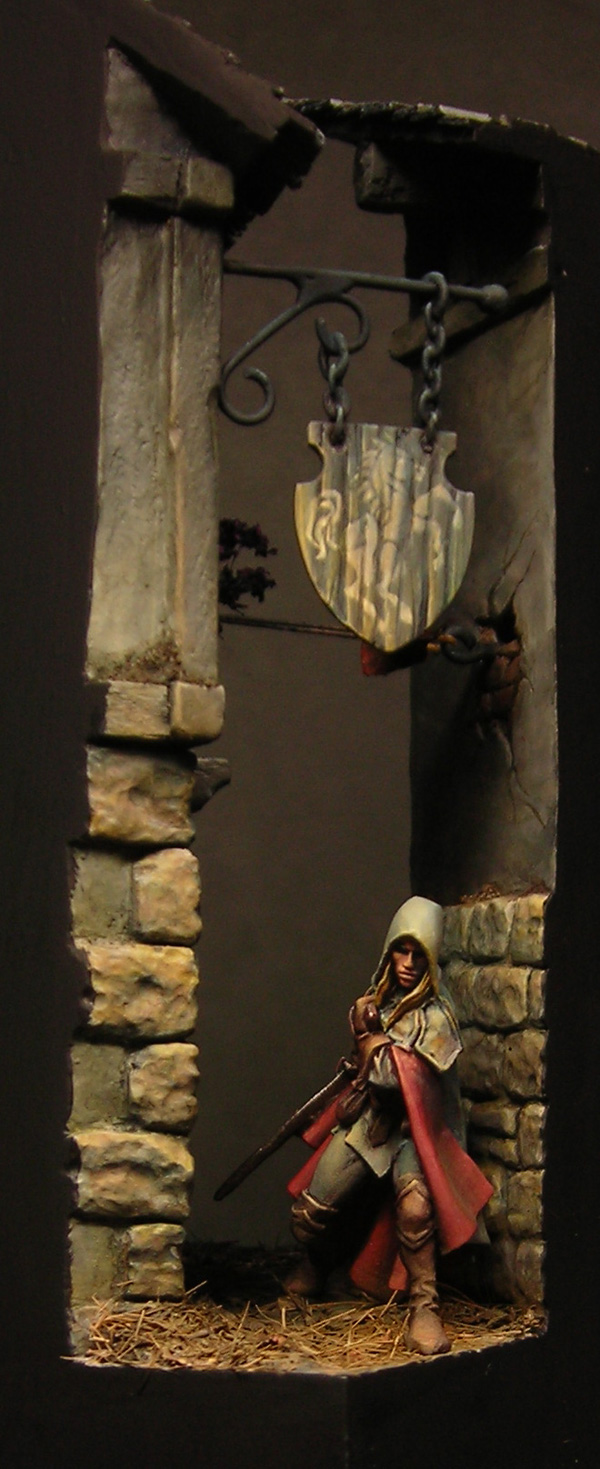
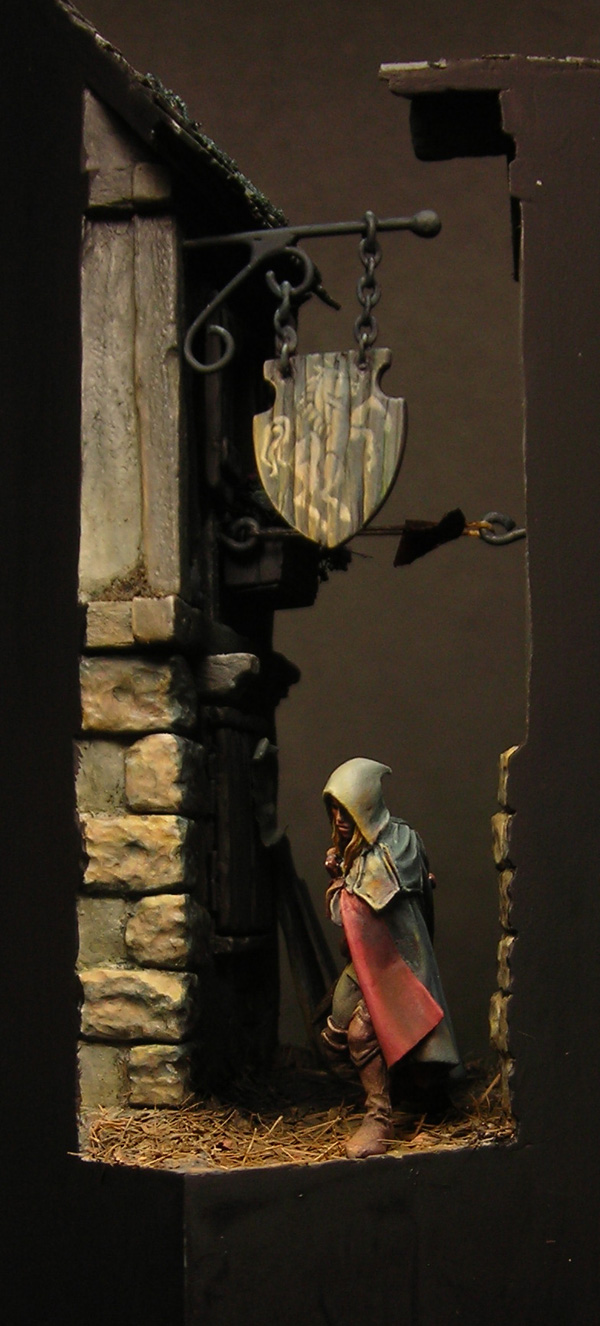
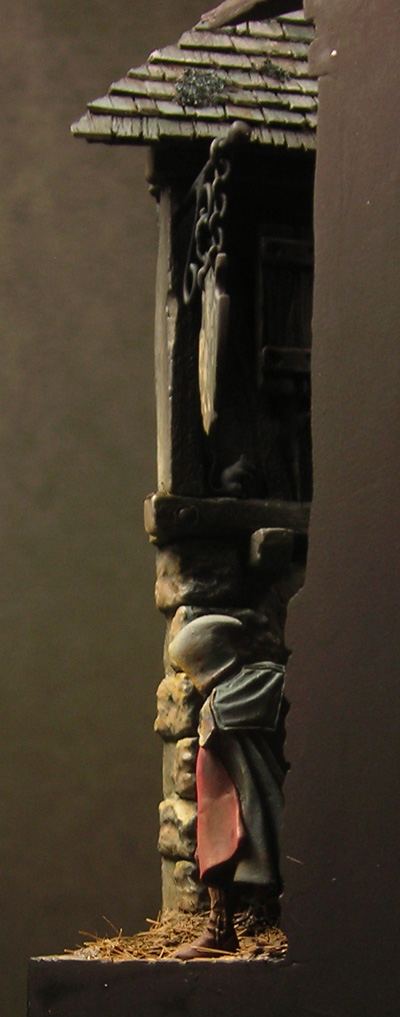
Turning the miniature between my fingers, I had the idea of letting him creep out of a dark narrow street and the vision of painting a quick miniature for in between was gone. I needed something that was looking like a dark narrow street � I had none � so I started some scratchbuilding-fun.
At first a sketch of the ground and positioning of the walls. I wanted the walls to take as less place as possible, as I still wanted Mr. Reyviande to be seen.

I took a wooden base to glue on the four sides of the � base. Superglue.

The following pictures do not need much explanation. Just more plastic-card for the first wall. A window.


Sheets of plastic-card, that I fixed on the edges of the base, were used, while filling the empty areas of the wall with milliput in order to get a plain finish.
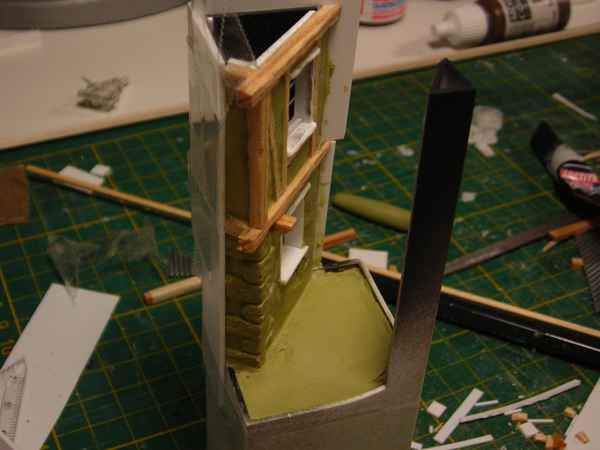

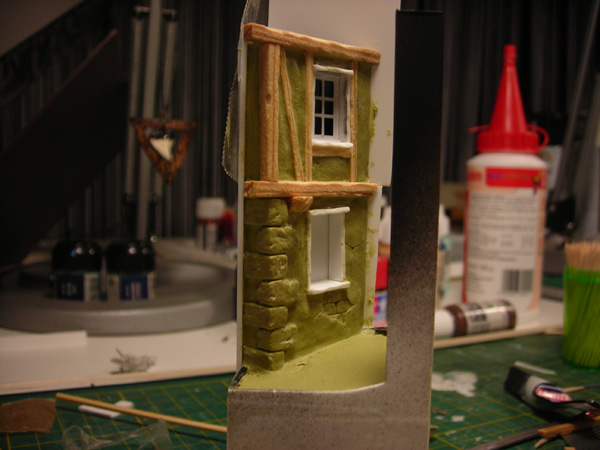
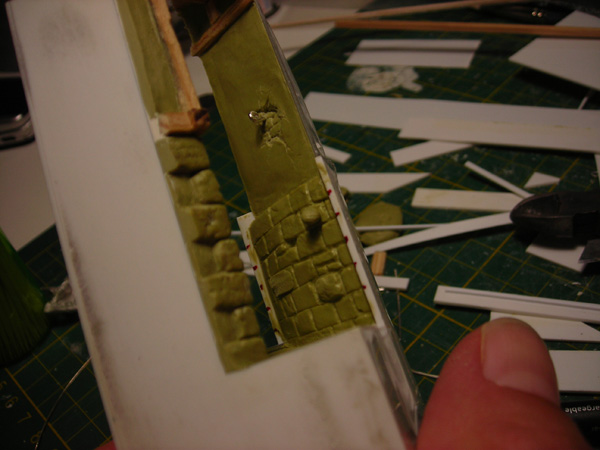
The first wall with a window, some wood and cornerstones. Later on I added some scratches and edges to the cornerstones of the house using a drill bit .. to get a more �natural� look. Would I�ve been asked, whether it was a good decision using plastic-card and milliput, I had to say no. Reading Raffas article about making a desert base gives you a better idea about achieving this kind of .. structure � using gypsum. I had no gypsum in the house � and I had to do it �now�. ;-) Impatience is visible.
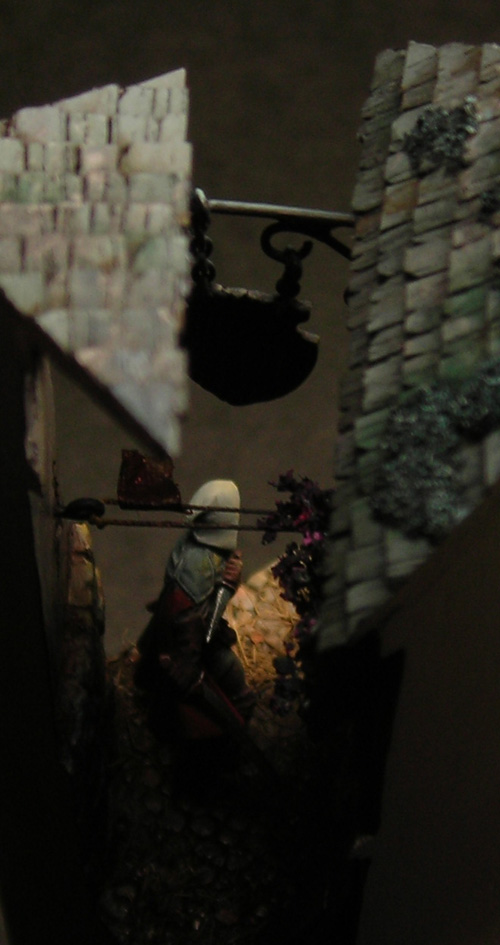
No window for the other side. But a little hook for a clothesline.


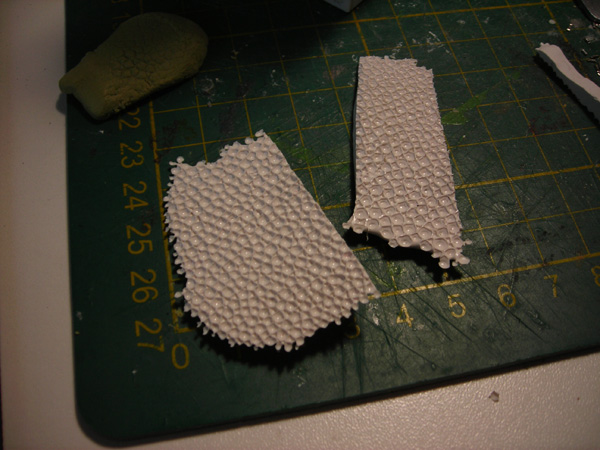
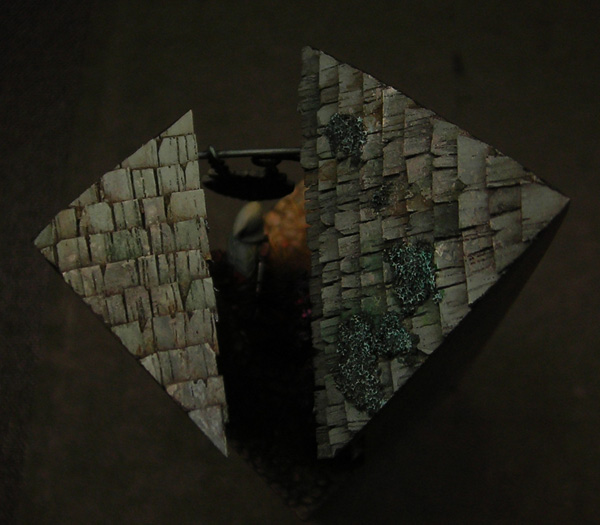
For the cobble stone pavement I used the texture of a piece of ray leather. I smeared some casting-paste onto the leather, let it dry and got a stamp of ray-skin, which perfectly fits for cobble stone floors in this scale. :-)


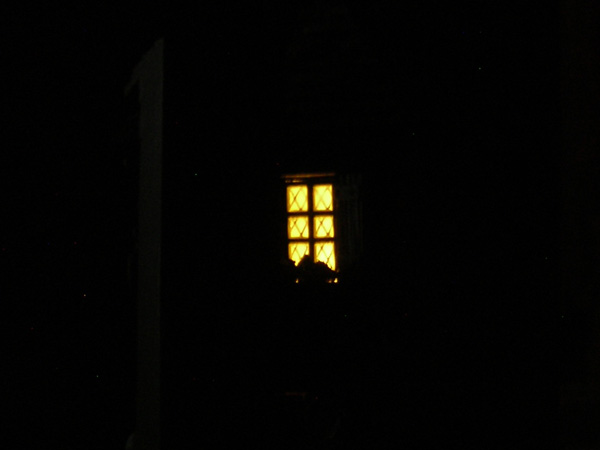
Roof. Yeah, sometimes I start things without thinking at first. That�s why there was no roof at this stage. I simply didn�t think about it � or thought that it wouldn�t be necessary. But as our great gorilla buddy always says: �nothing happens without a reason�. The left wall was now hollow inside, there was no roof yet, so why not drilling a hole into the wooden base and installing a LED inside for creating the illusion, that the upper room was enlightened by a candle or something � well no thinking, just doing.


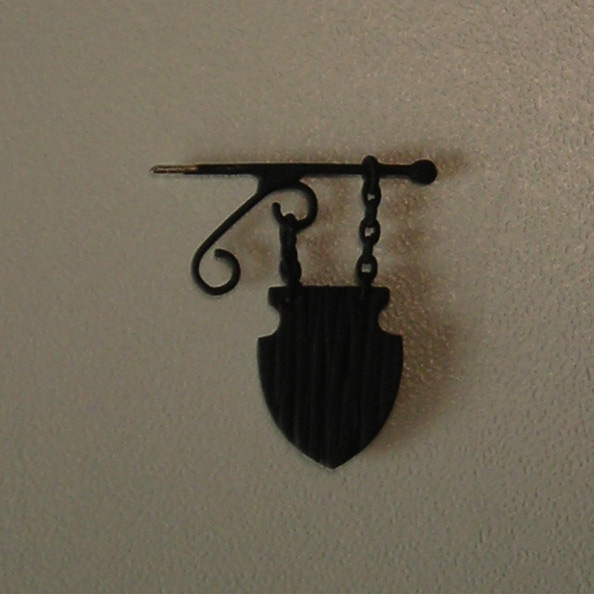
Then I attached the roof, made some shingles, a sign, and other little details and started painting! � painting, painting, painting � and now finished.

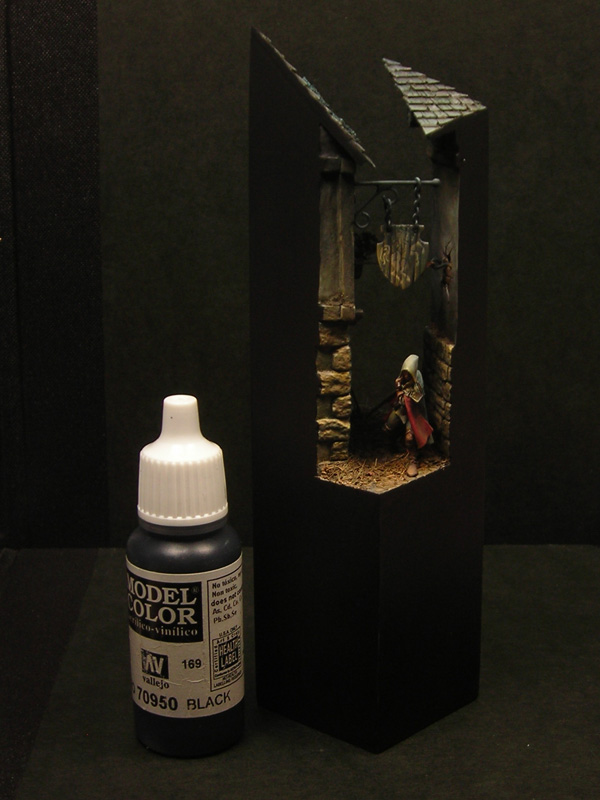
Well, this should have been something quick for in between. But it seems, I�m not able to finish something quick, or don�t want to put it away until it nearly looks like I wanted it to look like � or maybe just fell in love with this little mini. I don�t know :-P
Cheers
Robert